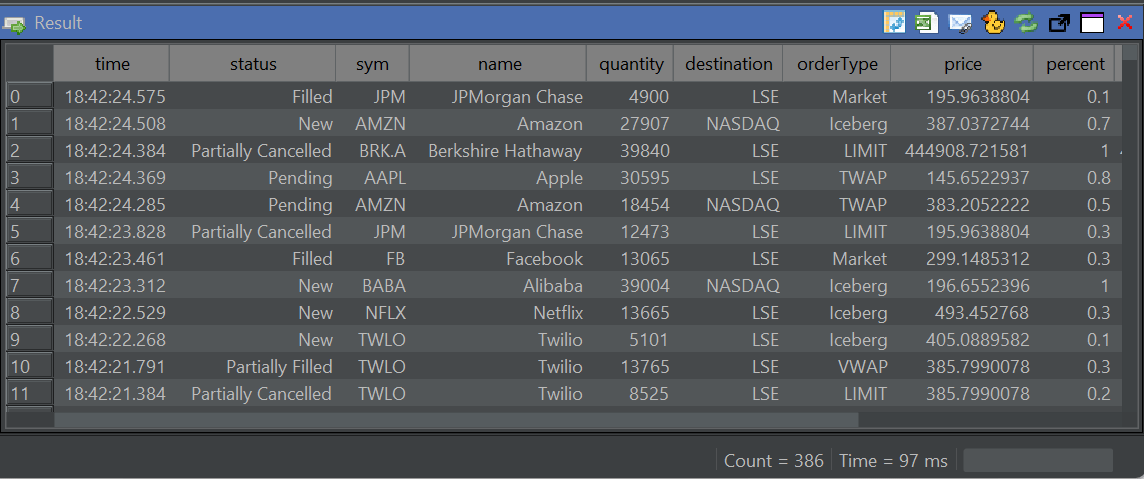
QStudio - Result Panel
The table Result panel is the most important and powerful panel within QStudio.
Sorting
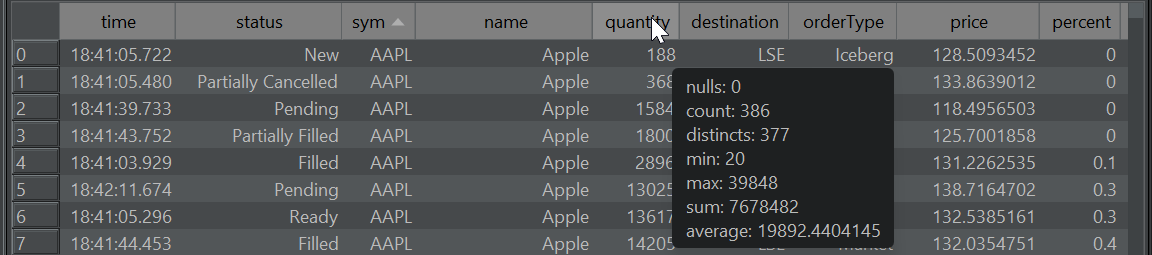
To sort by a column click on a column header. Click again to change sorting from ascending to descending. The below table has been sorted by the sym column. Notice the small arrow head denoting the sort.
You can hover a column header to get some statistical information on that column.
Selection
You can select a range of cells by:
- Clicking an individual cell or row number.
- Pressing mouse down on one cell then dragging to select an area.
- Clicking a row number to select that row, then:
- Shift-Clicking another row to select the range.
- Control+Clicking to select multiple individual rows as shown below.
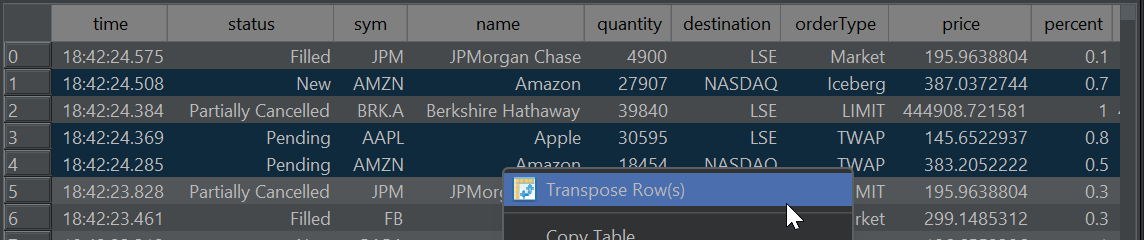
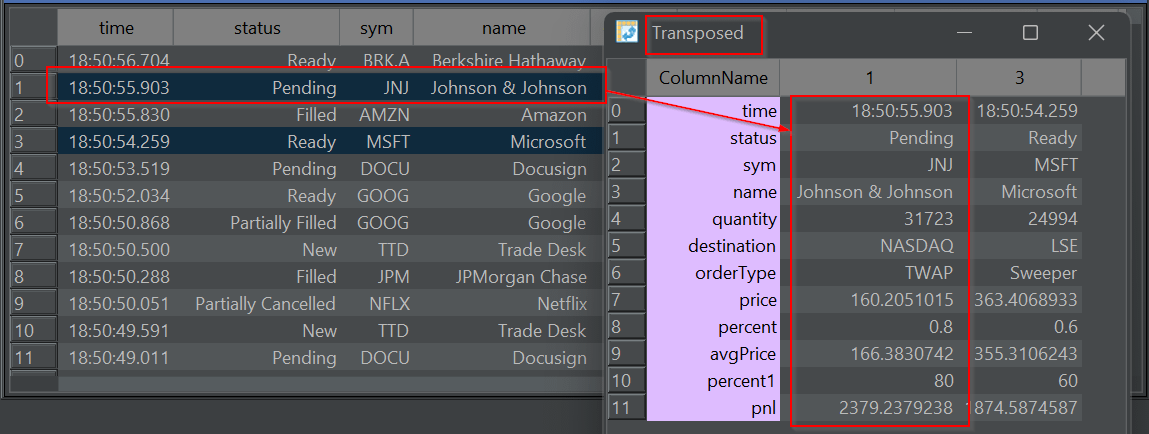
Transpose
You can transpose selected columns to convert from a row to a column based layout. This makes reviewing a few items from a very side table easier.
Result Panel Actions
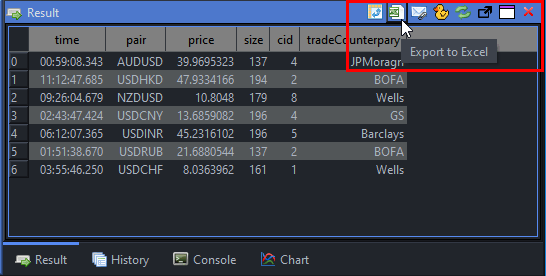
Along the top of the result panel bar are a number of buttons:
- Pulse Pivot
- Export to Excel - Generates and opens an excel file with all data.
- Send Excel Attachment - Opens mail application with path to new excel file, ready to attach.
- Export to QDuckDB Table - Saves the result to a local database.
- Refresh - reruns the query
- Popout - Opens the result in a new window, allowing easy comparison to other results.
Exporting
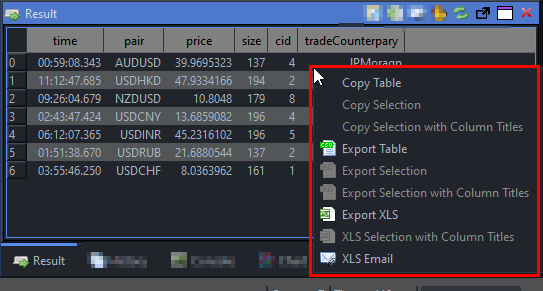
Right-Clicking on the table result provides a number of options:
- Copy Table or Selection to Clipboard
- Export Table or Selection as CSV
- Export Table or Selection as Excel XLS
- Email Table as XLS Excel
Dive-Into
Double clicking on a cell that represents a nested data structure (table, dictionary, array) will pop-out that table to it's own window. Multiple levels of nesting are supported and allow dynamic drill-downs.

Settings
Under the settings menu you can configure the number of decimal places shown, the maximun rows shown and whether to display large numbers as comma-separated.