Install Standalone Hadoop 2.6 on AWS Ubuntu
This is an extremely quick step by step guide to installing Hadoop 2.6 standalone on an AWS instance. It covers preparing the machine, downloading and configuring Hadoop, starting Hadoop and checking that it's running.
Contents
Hadoop AWS Install Tutorial
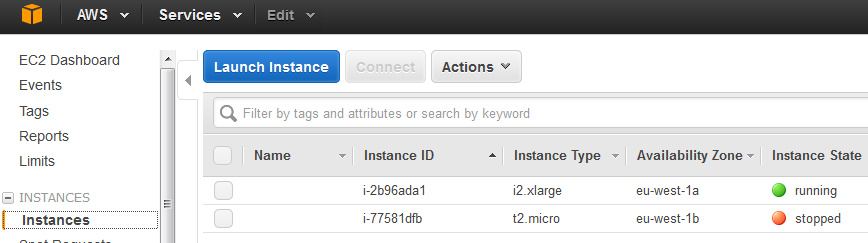
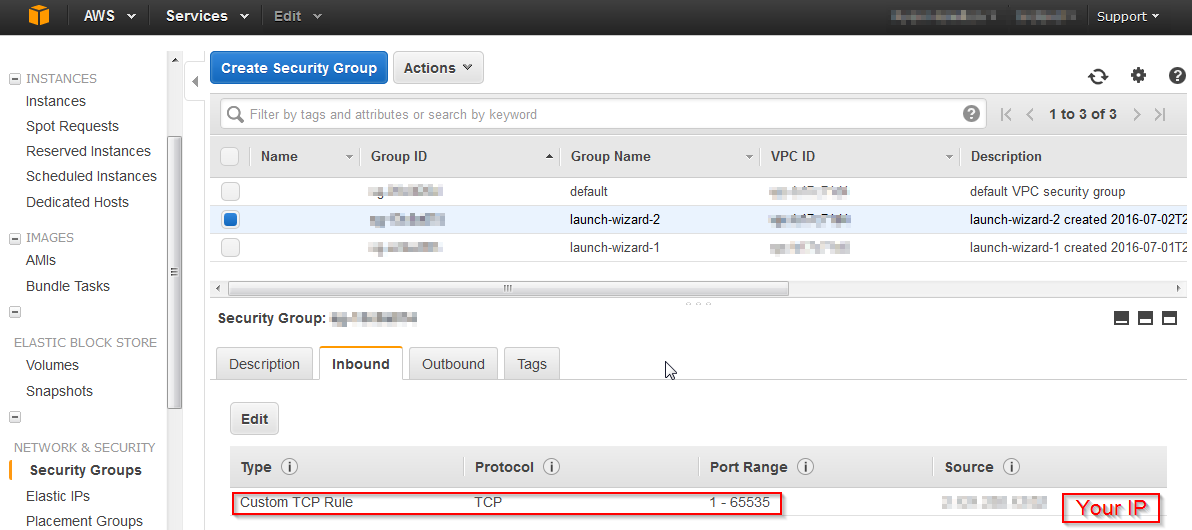
Launch AWS Instance i2.xlarge
i2 are High Storage Instances that provide very fast SSD-backed instance storage optimized for very high random I/O performance, and provide high IOPS at a low cost. Launch an i2.xlarge (4 vCPU, 30 GiB RAM, 800GB SSD) instance and set the security group to allow TCP connections to any port from your home IP address. This is used to connect with putty and to view web interfaces that hadoop provides.
apt Update and install Java
First get the latest updates then install oracle java 7.
Mount the large SSD drive
Mount the SSD drive as /mnt/bigd/.
Add a dedicated Hadoop User.
Create and Setup SSH Certificates
Install Hadoop
Download Hadoop tar
Set Environment Paths
set XML configuration files
The config files can be downloaded as part of hadoop-demo.zip. These are then copied over the existing empty configs to set the directories to those newly created.
This should leave you with the following configs:core-site.xml
hdfs-site.xml
mapred-site.xml
Format the New Hadoop Filesystem
Start Hadoop
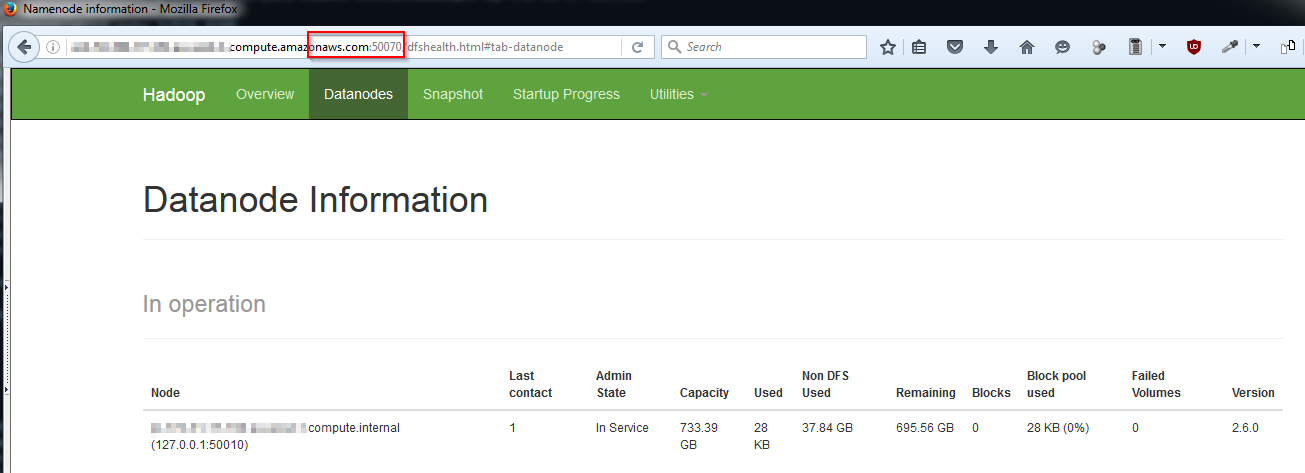
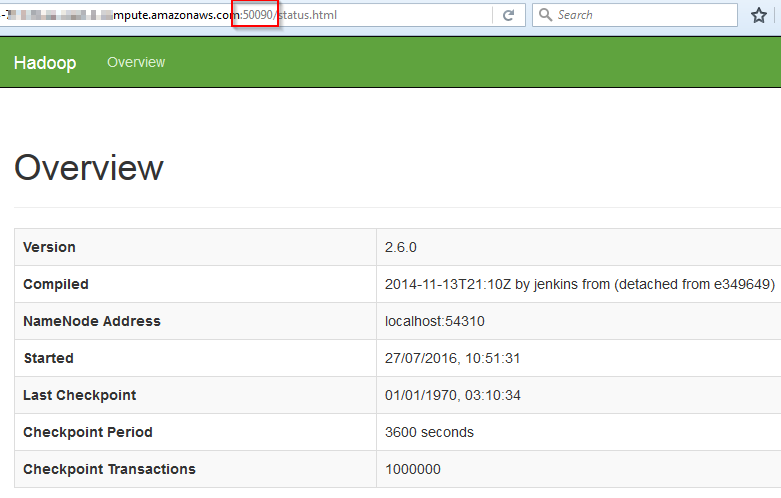
Check Hadoop is Running
Run JPS to check the hadoop processes are running.
Or connect to the namenode web interfaces on ports: 50070 50090, if ran locally use this http://localhost:50070 or replace localhost with your domain name.